Kind of a Big Dill
Hello!
Summer time is here and for those of you like me, teachers and students, boredom is upon us! Lately I've had a hard time filling my day (other than the occasional Netflix binge) with activities that are productive. My typical day consists of eating, checking on my potted garden, thinking about what to cook for dinner, doing the occasional yoga, and eating again. To fill those voids, I starting thinking about how to save myself money and still be productive! My hubby suggested that maybe I get a hobby other than gardening. My herbs have been thriving with the recent rain we've been seeing and if you know anything about dill, it doesn't take much for it to thrive in our local Florida climate. So what is something I can do that will save me money, fill my time, and allow me to use my dill plant?

I'm sure you've guessed it.... pickling! My venture to pickling honestly was cheaper than I expected! I found some beautiful English cucumbers at our local produce store (Hodges Produce -- I love you), cans laying around the house, vinegar stays stocked in my pantry, garlic and dill are also on my counter (thank you garden), and pickling salt was $7.00 at Winn Dixie. Not too shabby considering the cost on one jar of pickles. Those of you that are pros at canning, take it easy on me.... I did not have a pressure cooker available so I started researching how to pickle sans-pressure canner. I also started thinking, what did people used to use? So I talked to some ladies who have gracefully aged, researched online, and found that pickling can be done via stovetop and large pot! Yasss! I can almost taste the pickles already.

First step was to wash the cukes and the jars. Although my jars had already been cleaned, it is a good idea to rewash them for sterilization purposes. Make sure you use hot water to wash them. Then I set the jars, lids, and rims in a pot and turned the heat to simmer. While my mason jars were simmering I started making my brine. Now I've read several different ways to brine cucumbers but this is the way I was told to try: mix equal parts of water and vinegar and then add pickling salt. My measurements were 1 2/3 c. White Vinegar + 1 2/3 c. Water + 3 tablespoons of pickling salt. This will change based on how many jars you are using but this mixture fills 3 pint sized jars. Do not use iodized salt! It will alter the color, texture, and taste of your pickle and that would be no bueno! So I started simmering my brine. While my brine was going I finished prepping my cukes.
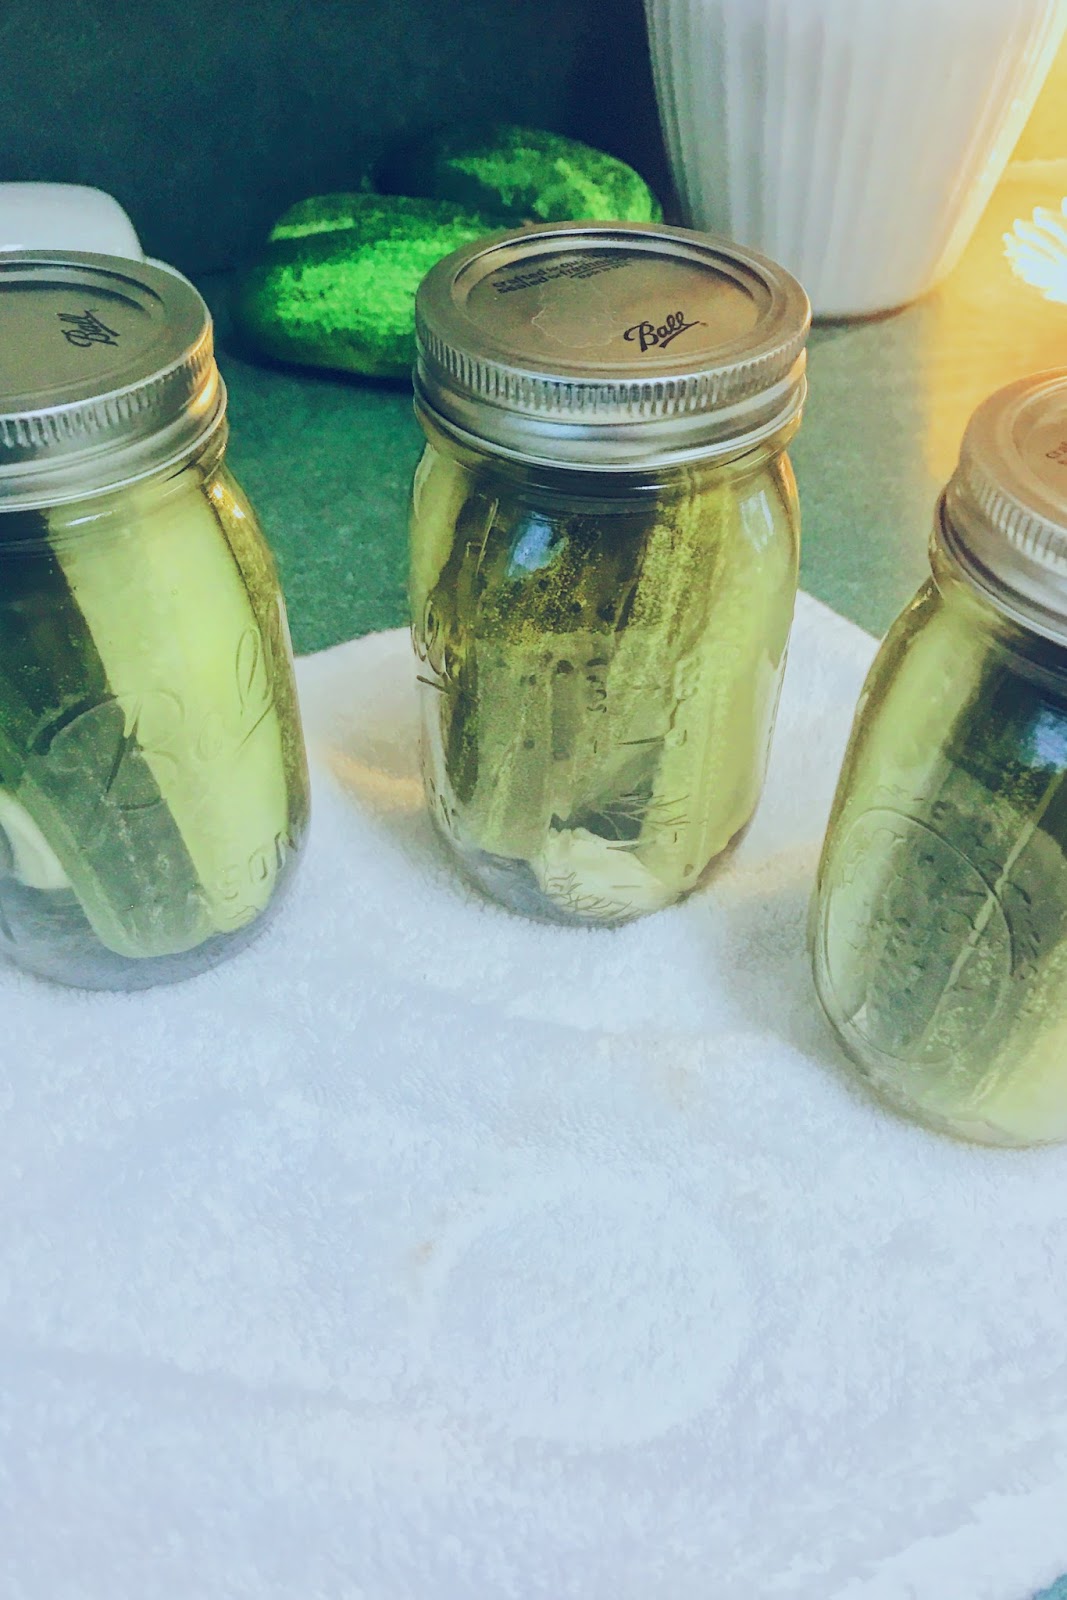
I personally love pickle spears but you can cut them however you'd like. Pro Tip: try to get cukes that are a similar size. If you are using whole cucumbers you want them to be even in the jar. My next step was to add brine seasonings, seal, and simmer/boil my cans for 40 minutes. (Altitudes over 1,000 ft. Boil for 45 minutes). Make sure when you add the brine, you only fill to the neck of the jar. You do not want to over fill! I repeat: you do not want to over fill! After the cans are finished, remove them from the heat and let them rest on your counter overnight. I like to leave my pickles on the counter for 2 weeks before stocking them in my cupboard because you will quickly be able to see if they were properly sealed since they would quickly begin to turn - yuck! After 2 weeks (or however long you can stand to wait, you will have pickles!

Cost of pickles at the store: $5
Pickles at home: .015 for salt + $3 for cucumbers = 3 jars of pickles
Cost Per Jar: $1
Total Savings: $4 per jar
I would count this as a win!


Comments
Post a Comment